JTAGprobe a Raspberry PICO based JTAG and SWD debugger
JTAGprobe
There are mutiple debuggers in market raning from expensive and high end like Lauterbach, Olimex and Segger and low cost variant like Tigard which uses Opensource utility like OpenOCD.
Recently , Raspberry PI released Debugprobe which uses PICO hardware to debug devices using SWD and offers UART interface.It uses FIFO and PIO functionality.
However, it can be modified to use standard CMSIS-DAP interface to connect with PC and act as debugger to debug SWD and UART based devices.
This is a fork of debugprobe firmware built on RASPBERRY pico and it supports both JTAG & SWD for debugging using OpenOCD, Hence the name JTAGprobe
The following is GPIO pinout for JTAGprobe firmware to debug JTAG/SWD devices.
It is recommended to use level shifter when connecting devices to prevent damage.
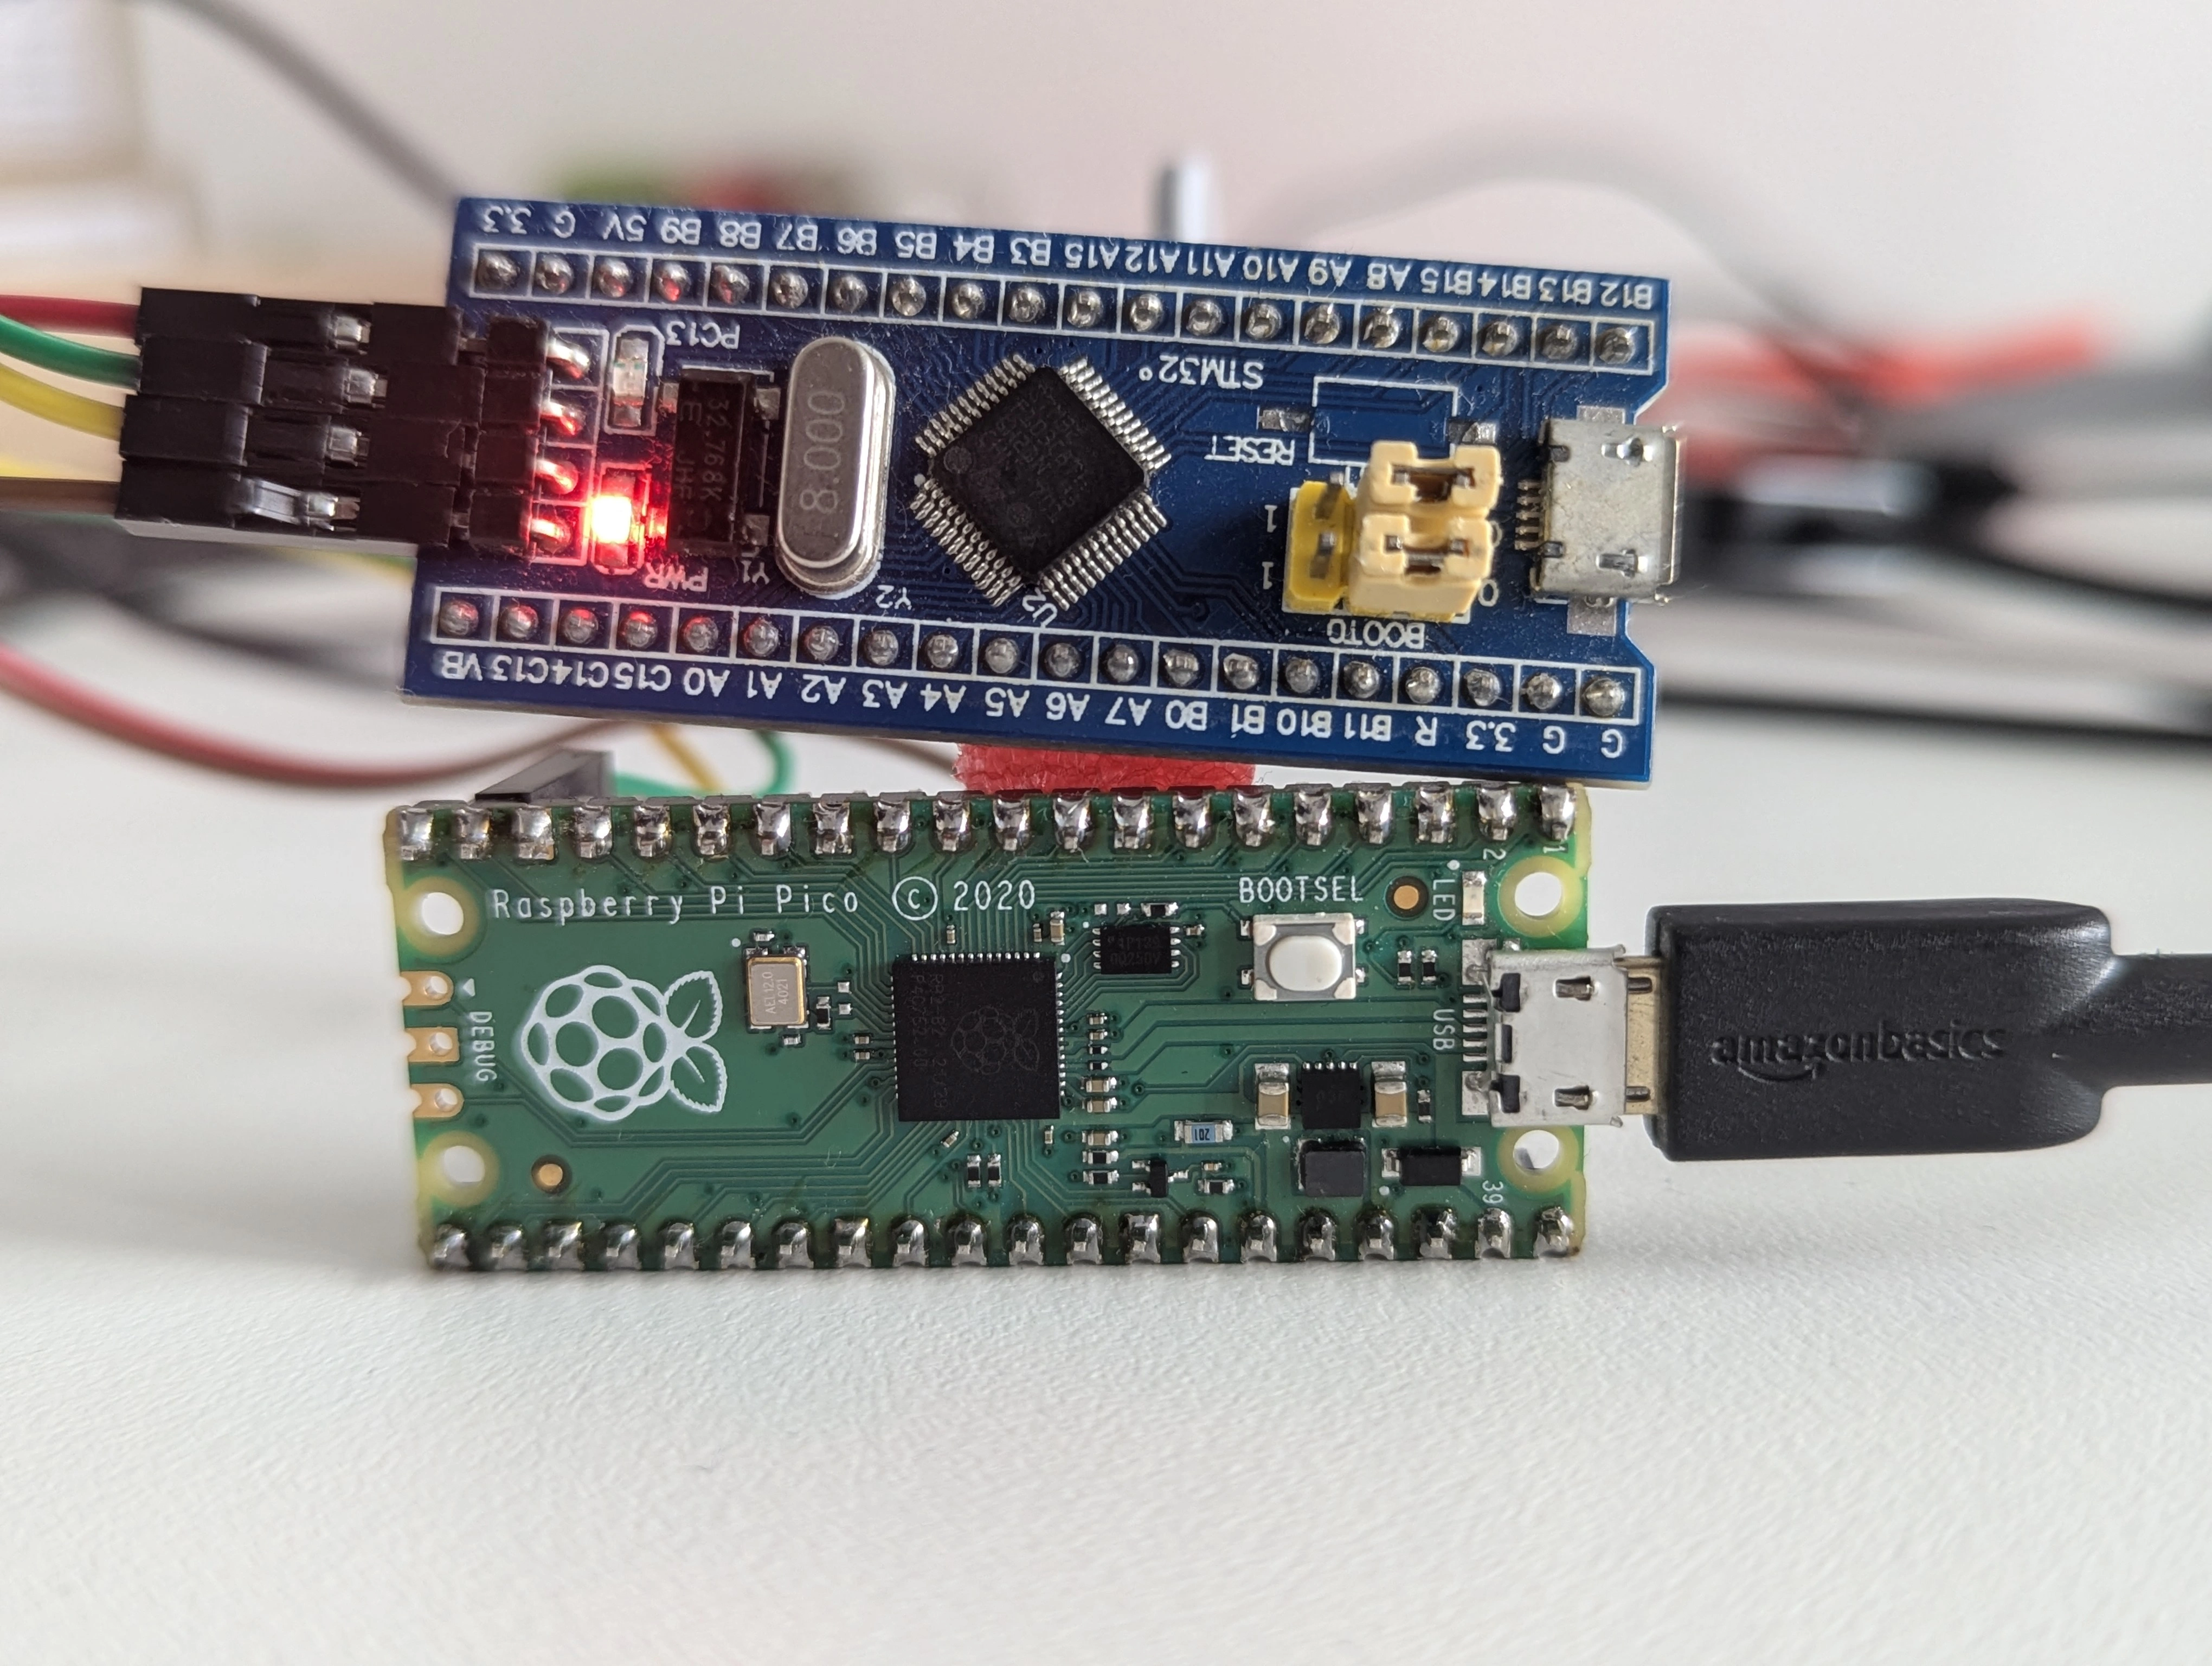
Images of debugging PICO with Bluepill
GPIO Pinout
| Signal | GPIO Pin |
|---|---|
| SWCLK_TCK | 19 |
| SWDIO_TMS | 14 |
| TDI | 18 |
| TDO | 21 |
| nTRST | 15 |
| nRESET | 16 |
You can download UF2 file or download entire code and build it as mentioned below.
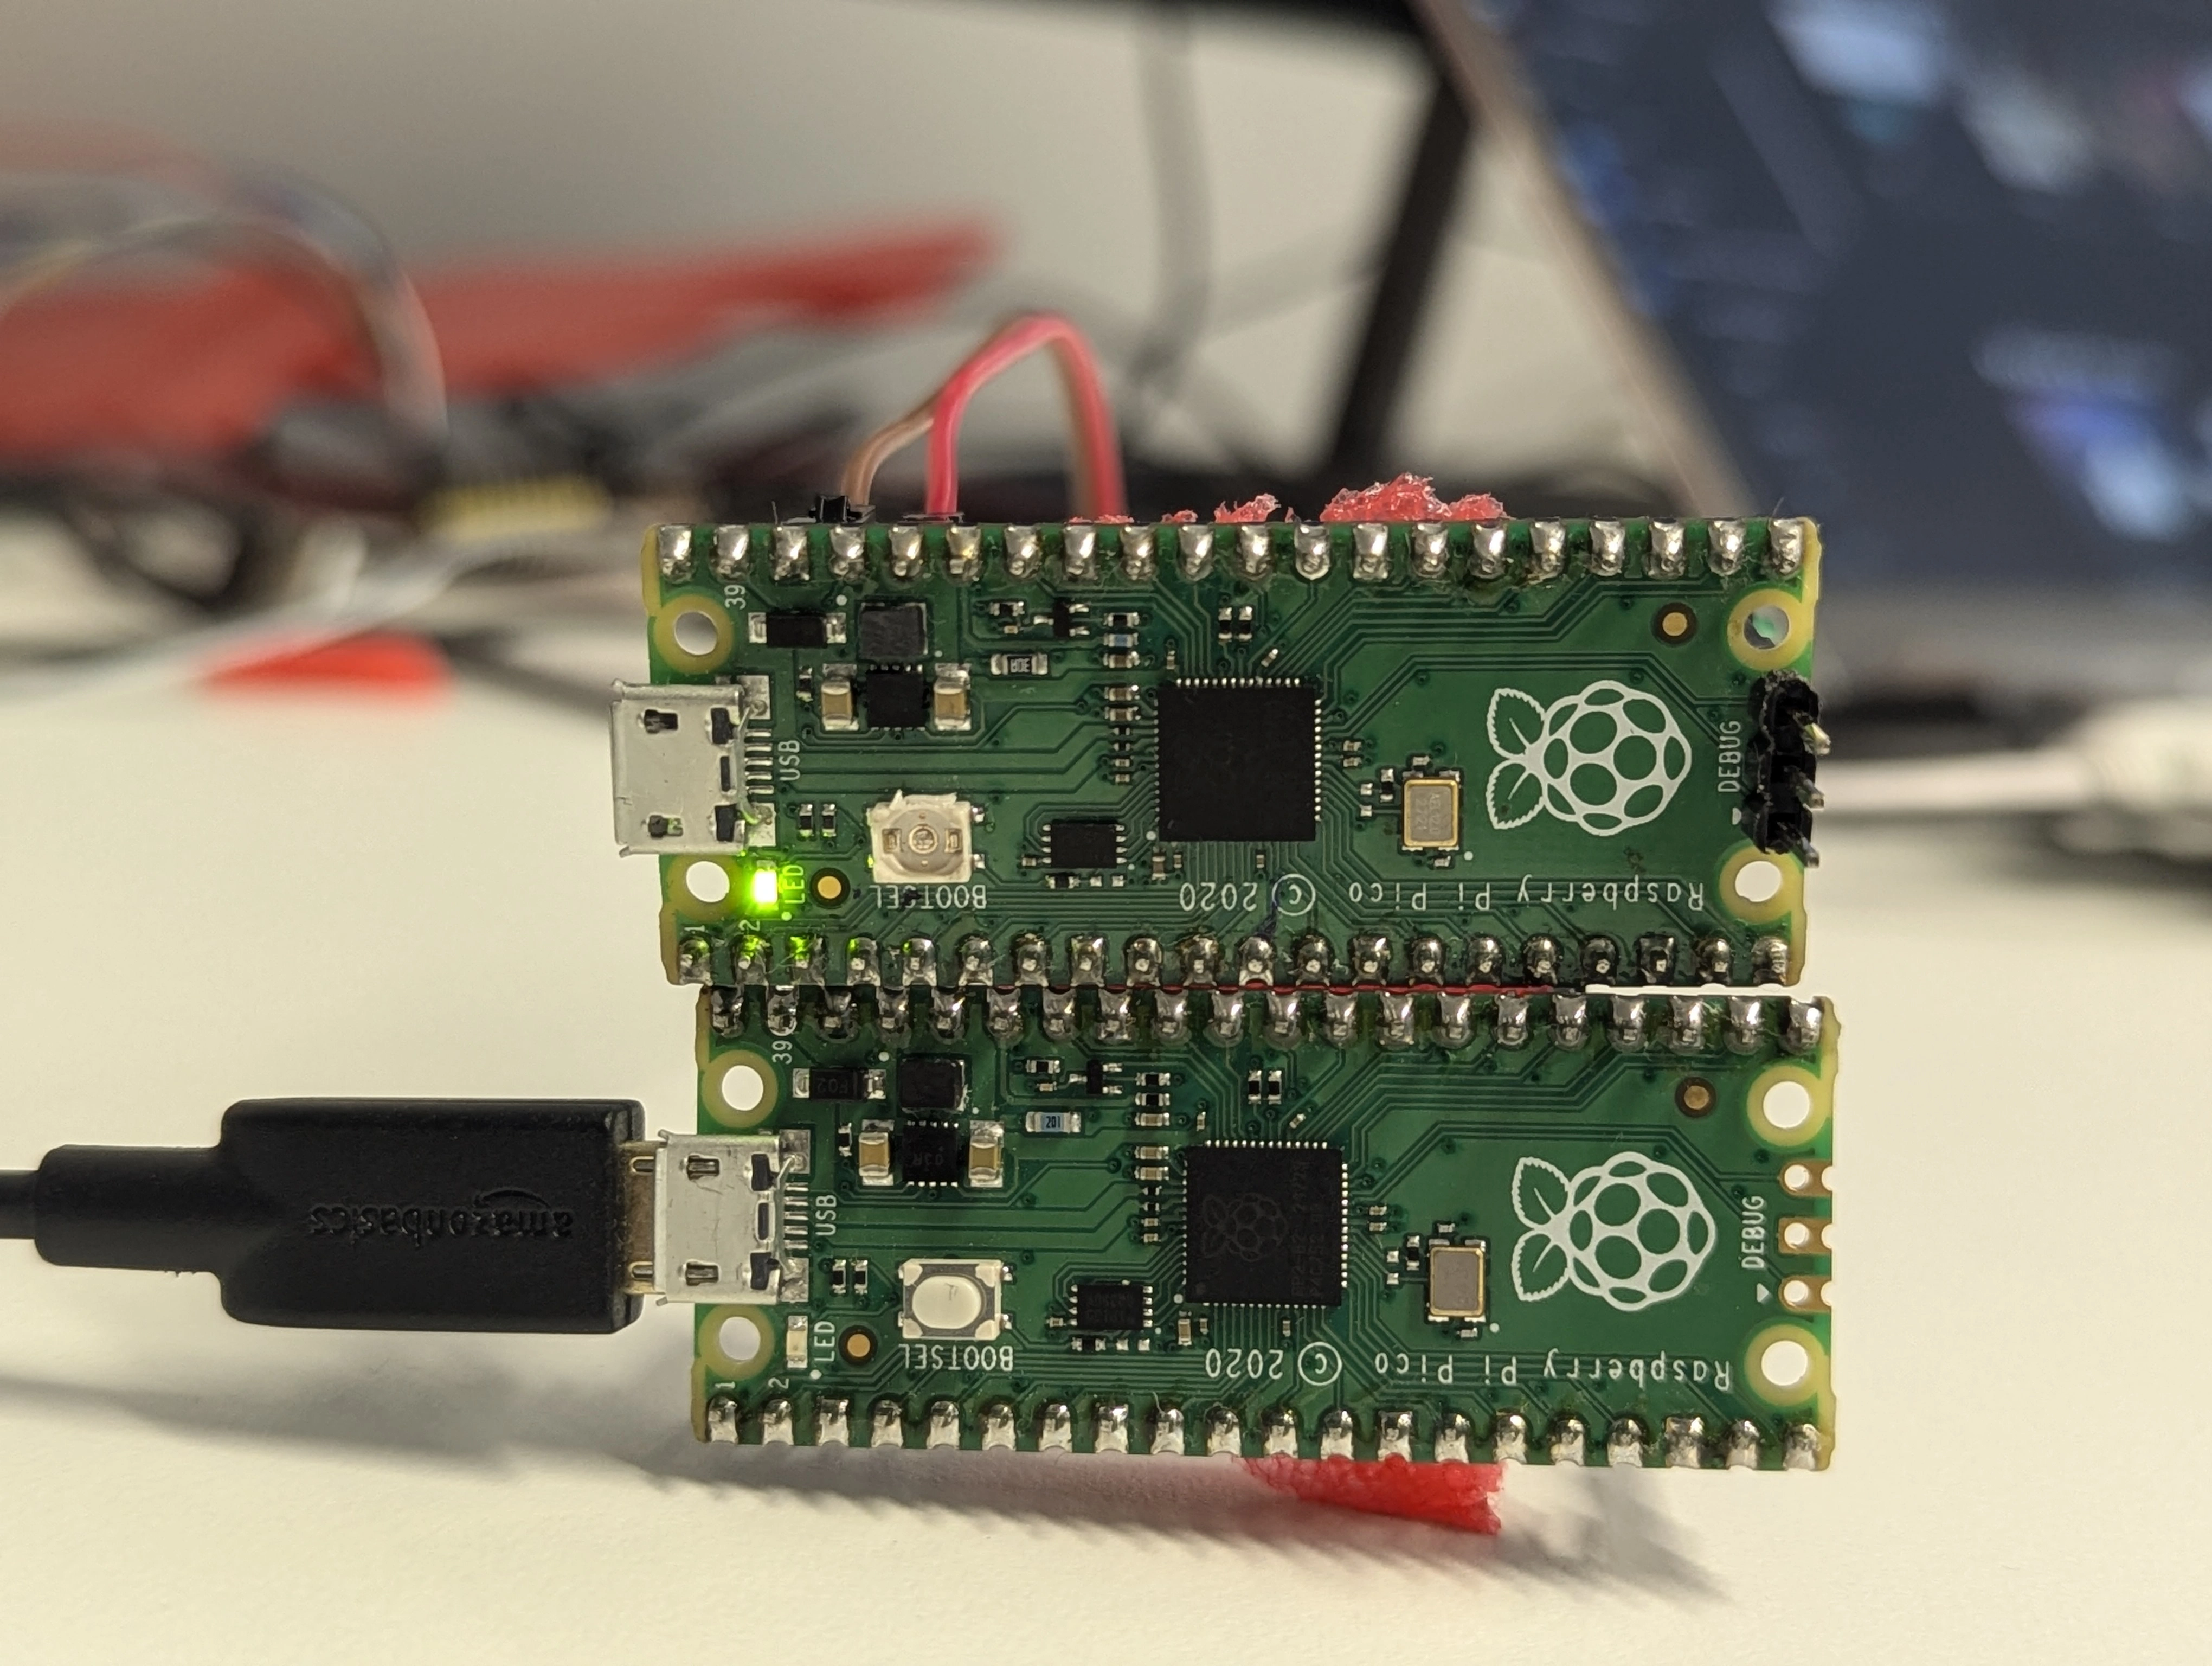
Images of debugging PICO with another PICO
Hacking
For the purpose of making changes or studying of the code, you may want to compile the code yourself.You can follow these steps:
1.Clone the repository:
git clone https://github.com/lonehog/JTAGprobe
cd JTAGprobe
2.Initialize and update the submodules:
git submodule update --init
3.Create and switch to the build directory:
 mkdir build
 cd build
If your environment doesn't contain , then either add it to your environment variables with or add to the arguments to CMake below.
4.Run cmake and build the code:
 cmake ..
 make
Done! You should now have a that you can upload to your JTAG Probe via the UF2 bootloader.
** Surya Chilukuri**